Topics:
- Paintwork restoration and care
Washing and waxing alone is not always enough – paintwork even on young cars might have some unsightly small scratches. You can easily correct them on your own to improve your car’s appearance and make the wax coating last longer.

A common problem: a clean, freshly-washed car shines beautifully when parked in the shade. However, after a few minutes of exposure to sunlight, circular scratches and swirls can begin to appear. This is a common issue even for brand new cars. Why? New, eco-friendly water based paint is quite soft and less resistant, and therefore more scratch vulnerable. It only needs a few unprofessional washes with dirty or unsuitable equipment for your car paint to loose it’s showroom shine.
It is even a more serious problem for the owners of older cars. Lack of adequate maintenance and adverse weather conditions may accumulate scratches and paint fading over time. Imperfections can be found not only on paint, but also on plastic parts such as trims, lamp covers and door handles.
Fortunately, all of this can be dealt with easily and affordably. Good quality car care products allow you to remove scratches effectively and safely, restoring the paint to its showroom shine. Why not do-it-yourself? You could be amazed with the final effects of your effort. You may need to ask a specialist for help if the paint is too “tired”.
Removing scratches and refreshing the coating is not just a matter of aesthetics – wax applied to a properly cleaned paint will protect it for much longer. And that means less work, less time and money spent in the future.
Where to start? How to assess the condition of the paint? What remedies and accessories to use? How to care for your paint to prevent new scratches from forming? Please find some of our useful tips below.
STEP 1: Preparing for waxing
Scratch removal is a complex process that should be done between washing and waxing your car. Many drivers apply wax immediately after washing – but if the paint is scratched and in poor condition, this layer of wax will only give it a fleeting and poor shine. A waste of your time and money.
The basis is a solid washing of the car – please find helpful advise Car body washing step by step – Autoland from our “DO-IT-YOURSELF” series. During the cleaning process preparing the car body for scratch polishing, special attention should be paid to removing all kinds of dirt: insect residue, sap, tar and road grime.
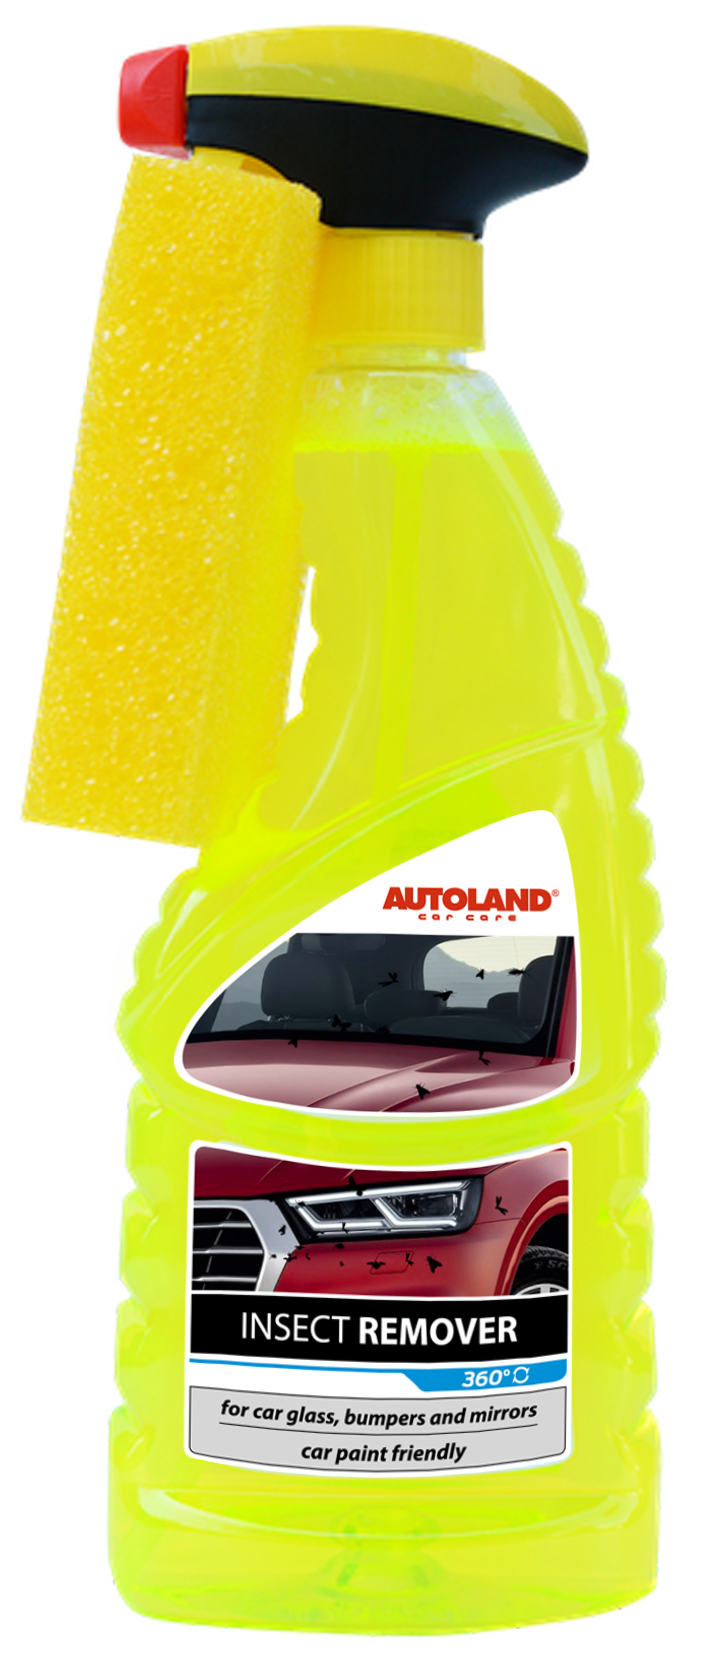
[produkt_1]
This is where dedicated products become necessary, making it easier to remove the dirt. After applying give the products such as insect, tar or sap remover some time to work, to “soften” the dirt.
[produkt_2]
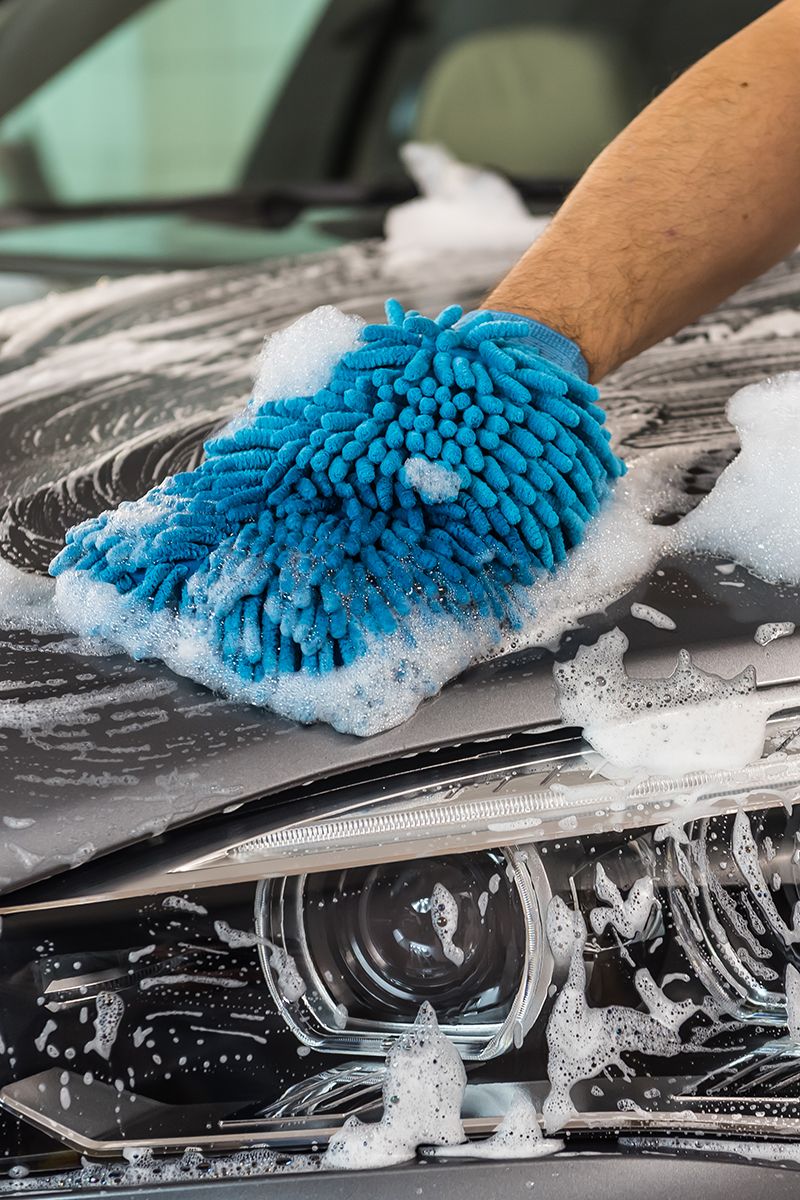
Caution! Both for washing and for removing dirt we use only microfibre squeegee or soft clean cotton or microfibre cloth, which are the most suitable for your paint. They should be rinsed frequently and thoroughly and washed after every use. We do not recommend using regular porous sponges – as they can accumulate sand particles, which cause scratches.
Additionally you can also use a special putty known as “clay bar”. Flatten a clay bar into a disk shape about as wide as the length of your fingers. Spray the clay bar and a 50×50 cm area of your pre-washed car generously with a mix of water and shampoo or a dedicated clay lubricant. With light finger pressure, wipe the lubricated area in a side-to-side or up-and-down non-circular movements. Clay bars pick up contaminants, fold and knead after cleaning each area. When the area is cleaned and feels smooth, remove any excess with a soft clean folded microfiber towel.
STEP 2: How to choose polish and wax

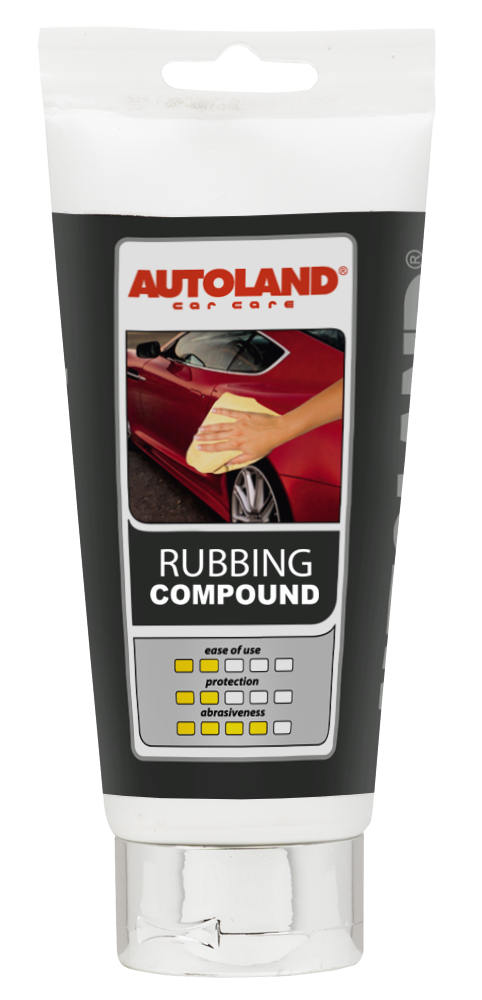
The choice of polish and scratch removers depend primarily on the condition of the paint. Older cars with visibly faded paintwork should be treated with a light abrasive which will remove the oxidized layer and most of the scratches. When buying, please ensure the quality of your chosen product is made by a company which specializes in car care, and with good feedback from users.
[produkt_3]
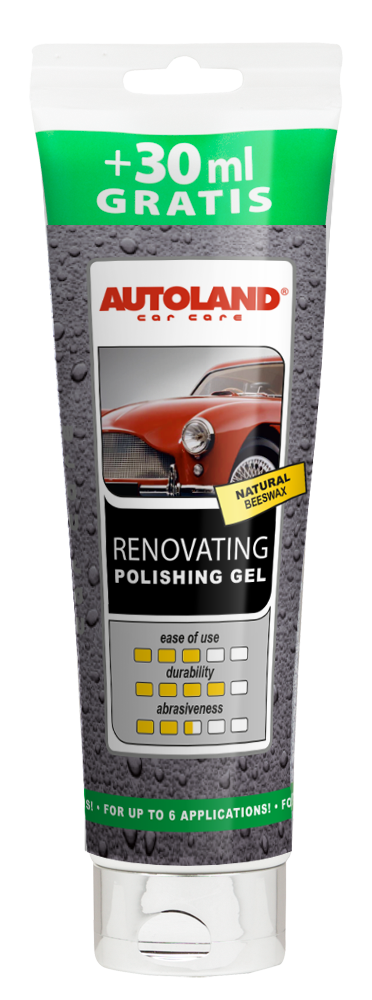
As an alternative, you can use milder polishing abrasives for newer paint, which still have their natural shine but have some slight scratches, especially visible in direct sunlight. Their advantage is versatility: due to their mildly abrasive properties, polishes remove shallow scratches, while at the same time containing fillers that fill in larger imperfections. In addition, they contain wax, which is used to preserve your paint. So, polishes combine subtle removal of scratches with also a protective properties. Which are perfect for when you don’t want to spend too much time and effort on polishing.
[produkt_4]
However, it is advisable to use a light abrasive paste if possible, you can polish not only painted panels, but also plastic light covers. After such treatment, the car should be washed again – this will remove any residue and dust. Then it is time to protect your cleaned paint with wax.
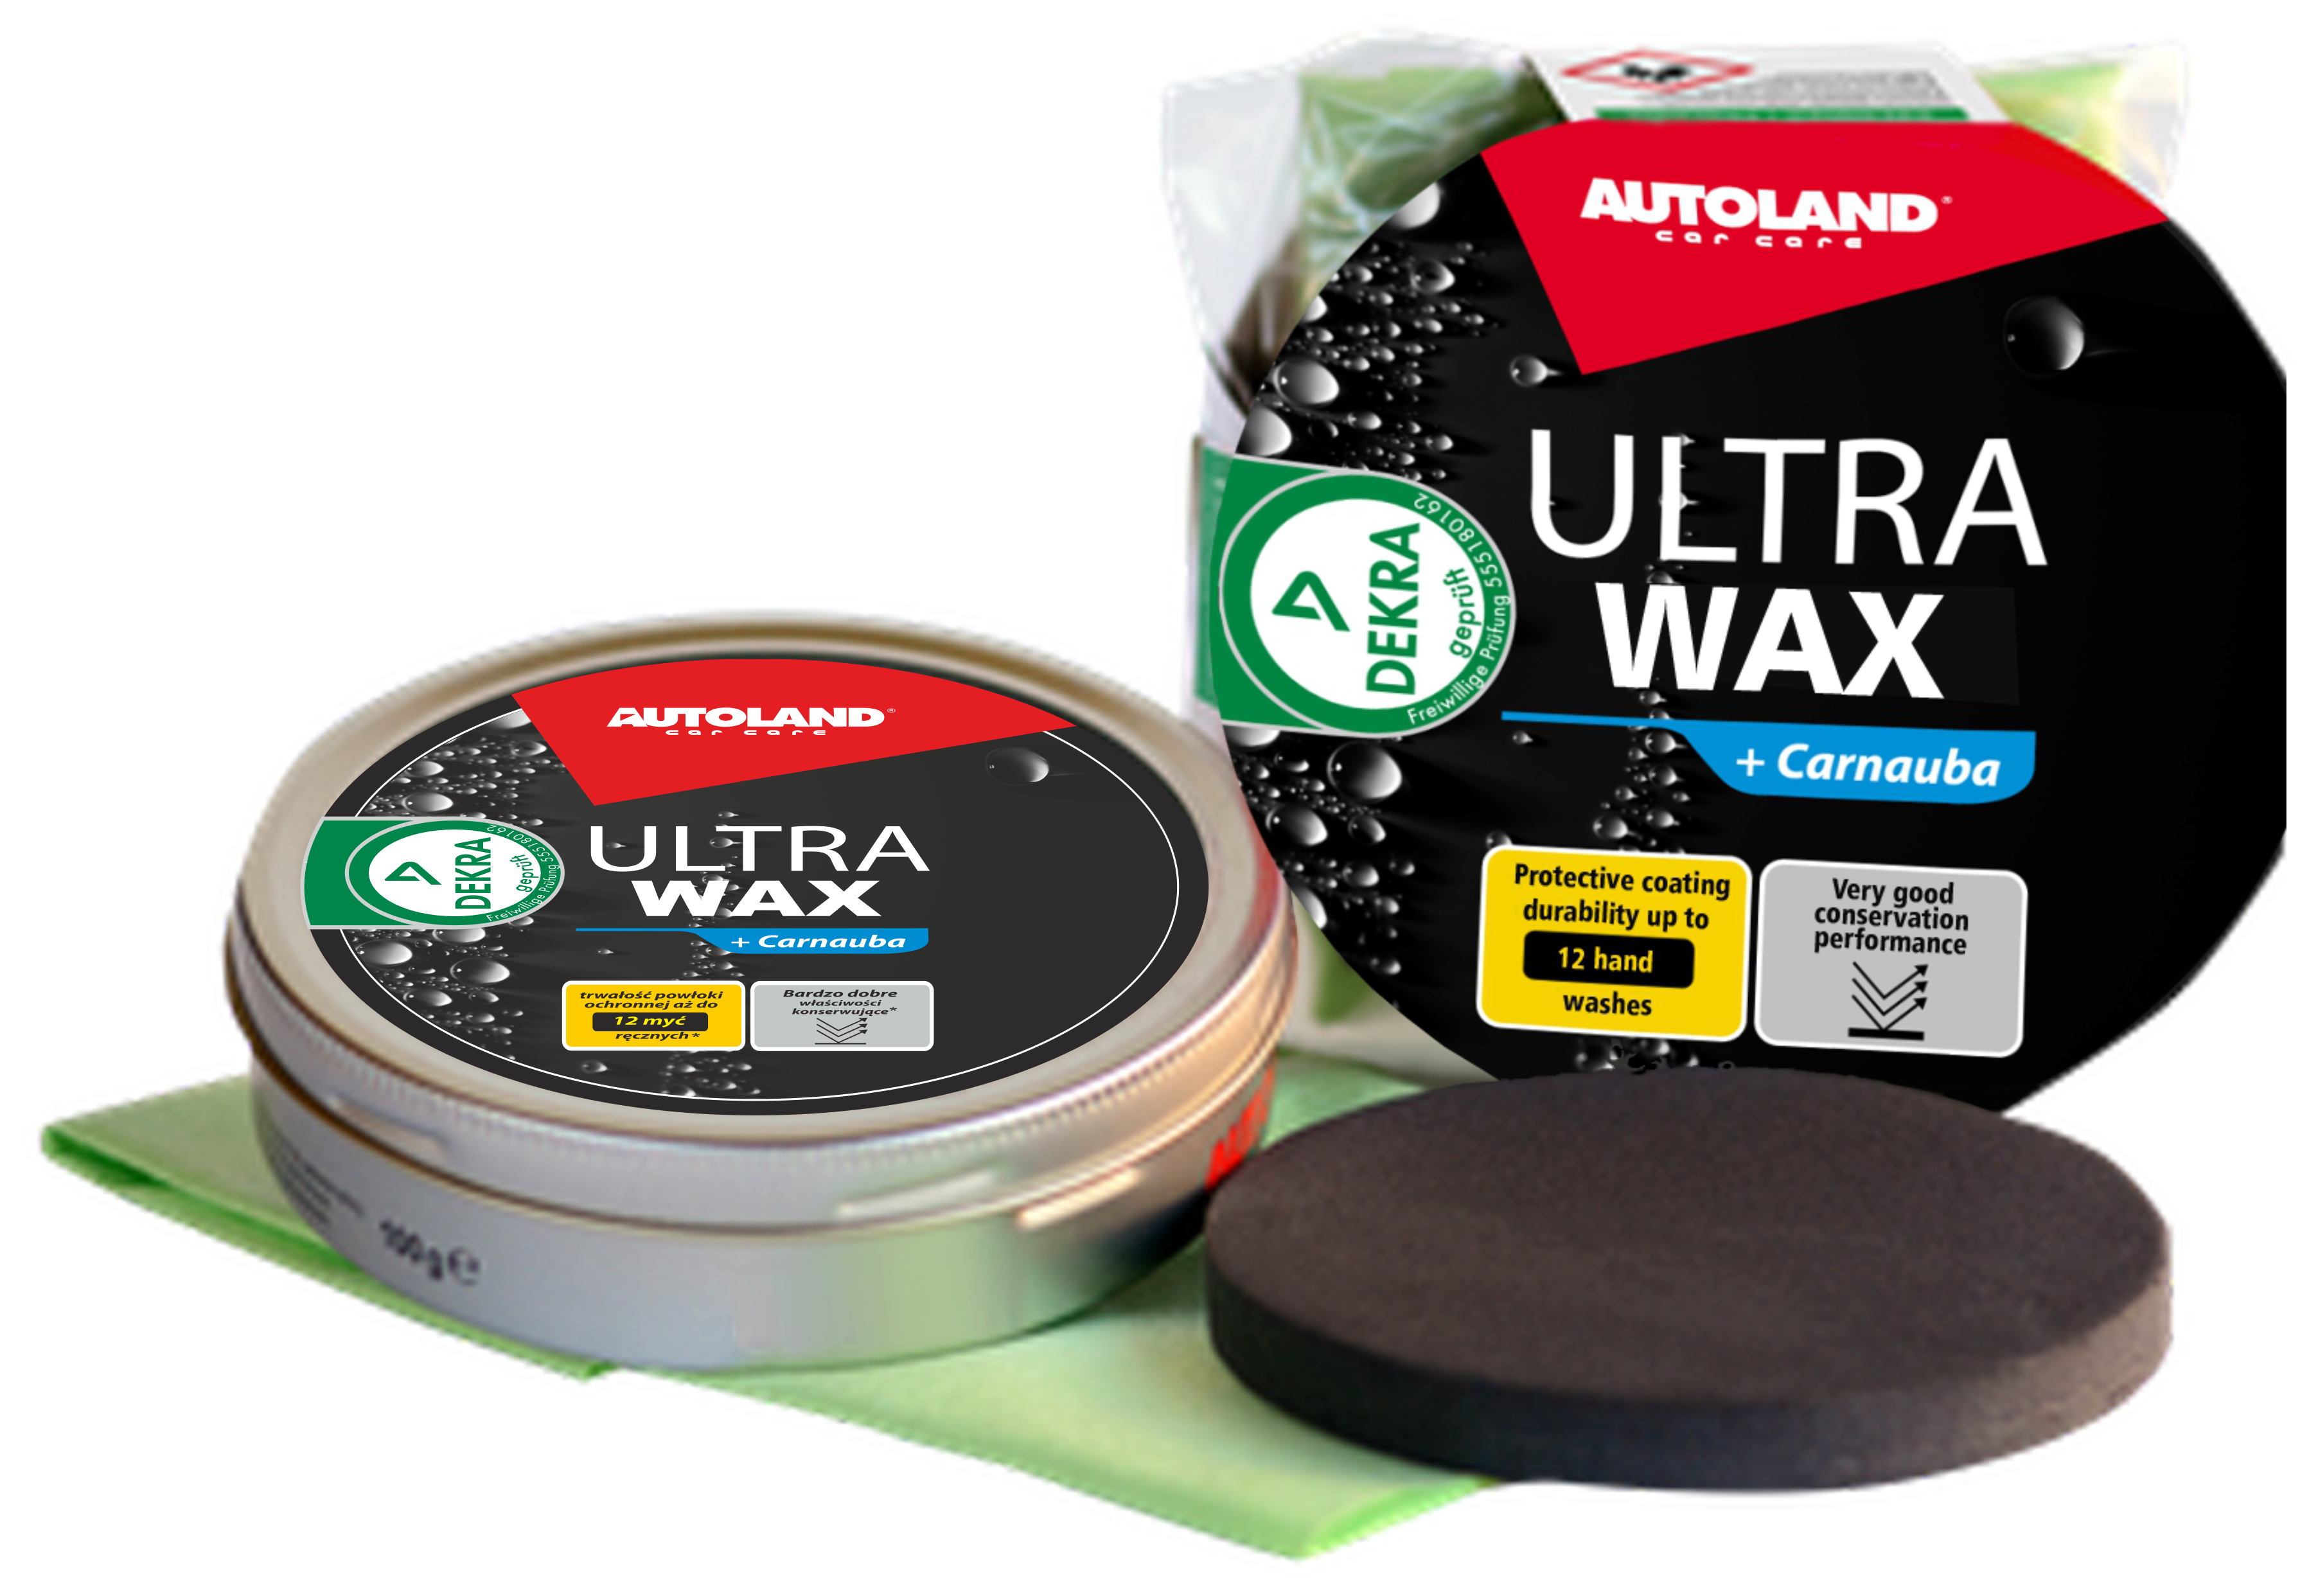
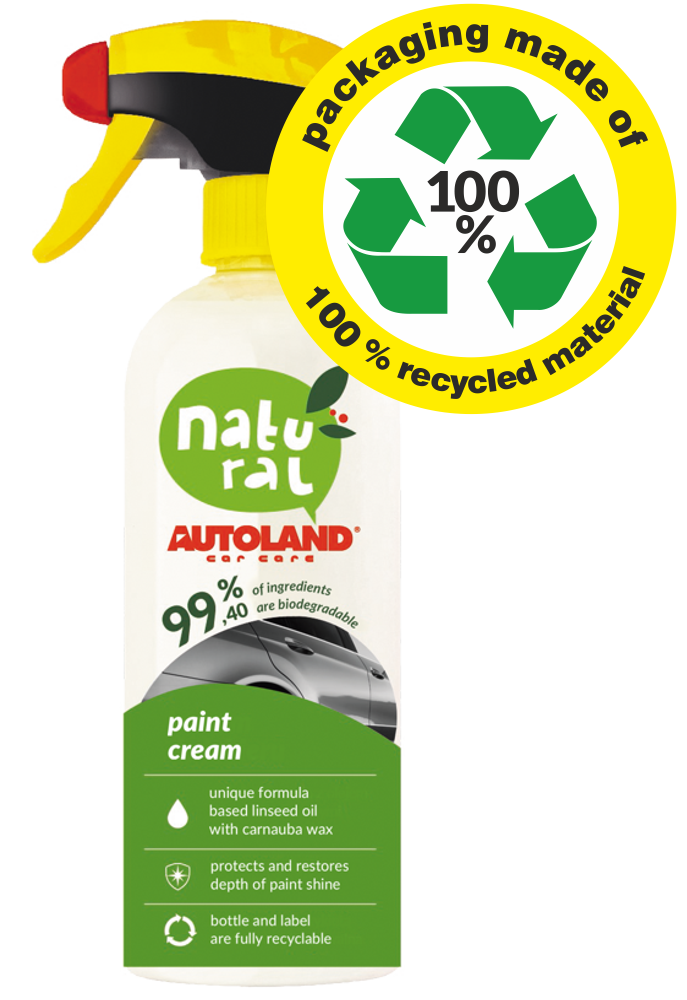
Wax should be applied on completely dry paint, not in direct sunlight or onto hot surfaces. You can also apply to the bumpers to allow easier insect removal. The choice of product depends on personal preference: liquid wax is easier and quicker to apply than a traditional paste or hard wax, but the latter will be more durable.
[produkt_5]
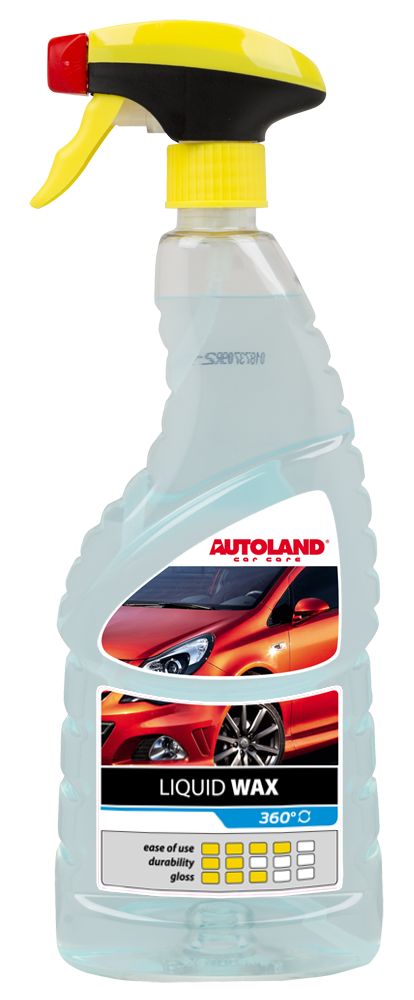
The least durable and quickest to apply are spray and liquid waxes. It is a good idea to have such easy-to-use products in your garage when you need quick protection for your car body. They give extra shine, form a water-repellent layer and eliminate lingering traces of water drops.
[produkt_6]
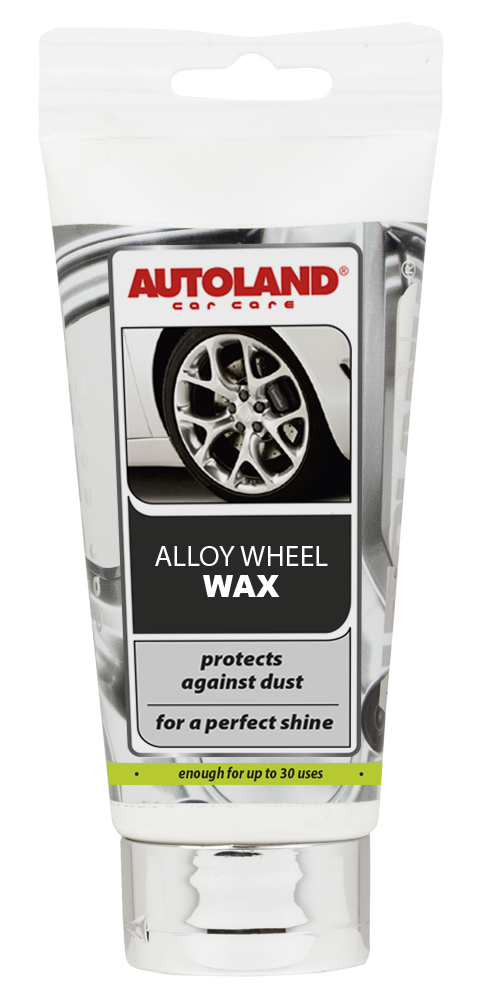
Additionally, cleaned alloy wheels can also be waxed – here too, as with the bumpers, a layer of wax will make it easier to rinse off dirt later and protect the wheels from the harmful effects of salt in winter. However, it is best to protect the wheels with a dedicated wheel wax.
[produkt_7]
STEP 3: The right technique and equipment

Paint polish should be applied with a good quality dedicated applicator. A microfibre or soft clean cotton cloths should be used for polishing and wiping off.
The most important thing is careful, circular, small movements, panel by panel, covering the entire surface. Wax should be polished immediately and not let to dry.
It is not advisable to apply too much wax, just a thin layer, which is easier to polish. A thicker layer does not provide more protection at all, it just requires a lot more effort and time to achieve the same showroom shine. All that matters is to apply the product evenly.
STEP 4: Mechanical polishing and specialist assistance
Please consider advice from a professional company if your paint is unrepairable by you. High quality polishing kits are available if you feel skilled enough to do-it-yourself.
STEP 5: General advice

Once your car has a showroom shine, but what’s next? How to keep the paint shine as long as possible and scratch free?
Please consider to follow rules below:
– it is not advisable to use automatic car washes
– wiping a dry and dusty car with a rag can easily damage your paint
– it is worth using car a self-service car wash regularly and periodically by your own hands – but always by a soft clean microfibre cloth. If you use the services of a professional hand wash, ensure the equipment they use is regularly washed and cleaned, and in good condition
– use only dedicated car cleaning products, household chemicals can wash away wax and accelerate paint fading
– regularly protect your car body with wax, renew before the previous wax coat has gone (sufficient wax layer makes water drops run off easily, water droplets adhere to underwaxed paint)
[produkt_8]
– remove potentially dangerous contamination such as bird droppings and tree sap immediately as they can damage your car paint
Long story short: make sure your car body is always protected from the elements whilst avoiding non-dedicated equipment and products. When needed use a mild polish to remove any new traces of oxidation and shallow scratches for a deep showroom shine.
Your car will appreciate the care and attention, and reward you by envious looks from other drivers 😉
Może Cię również zainteresować:
Aluminium wheels and metal trims: cleaning, care & protection
From an aesthetic point of view, these are some of the most essential parts of your car. And ones that get dirty the fastest and get damaged the easiest. Light alloy or aluminium wheels and decorative metal trims - how do you clean and maintain them? Should you protect them? How to restore scratched wheels and trims?
DO-IT-YOURSELF - Car body washing step by step
It should be no rocket science – water, shampoo, sponge and off you go. But washing the exterior of your car means following certain rules, too. Otherwise you can damage the paint and... waste your time.
Please, make sure you know exactly what to do before cleaning your car!

