Do It Yourself - cleaning and tidying up the interior of your own car
Topics:
- Do It Yourself - cleaning and tidying up the interior of your own car
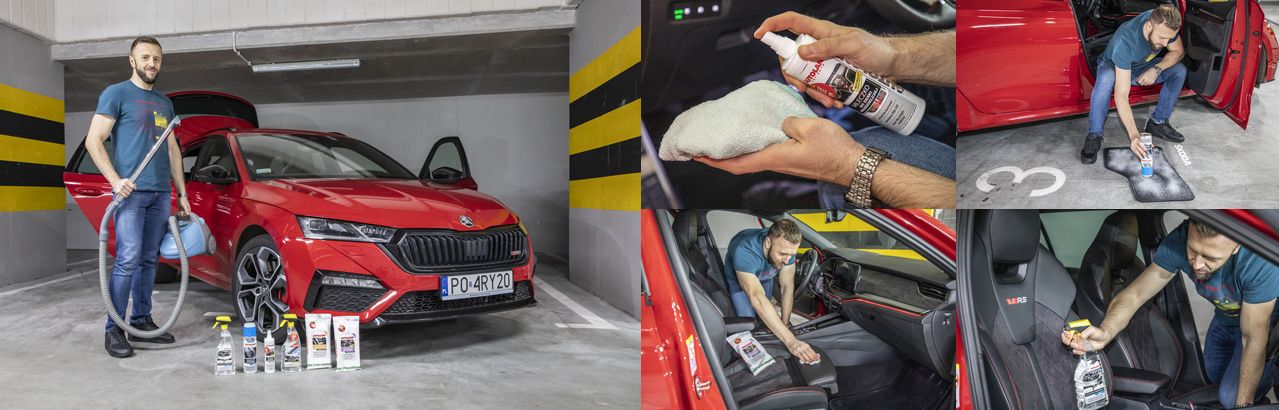
Do It Yourself – cleaning and tidying up the interior of your own car
Your car is often like a second home – and just like at home, it should be cleaned regularly. Not only for your own comfort, but also for your health and safety. 1-2 hours using easy-to-use and products make your car interior clean.
We often put off cleaning the car or we do not have the appropriate conditions to do it. As a rule it is better to clean your car regularly than wait for the dust to bite your eyes. Some stains become more difficult to remove over time. Secondly, mites that are dangerous for allergy sufferers collect in the dirty and dusty interior. There is also the issue of safety – sand and grease on the windows contribute to the evaporation of water reducing visibility, especially from autumn to spring.
Thorough cleaning can be time-consuming, but – apart from the aesthetics and safety issues – it will pay off … when the car is resold. Old stains, dust in nooks and crannies, and unpleasant odors that are a consequence of infrequent cleaning can effectively put off potential buyers.
Some suitable cosmetics and a some clean, soft microfiber cloths will be needed. More expensive cloths are more absorbent and less slippery and do not leave streaks and lint. They can be washed after each use.
Please find below some useful tips how to do it yourself.
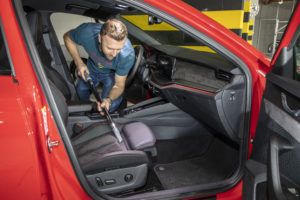
Step 1 – vacuum
Cleaning and tidying up the interior of the car should start with a proper vacuuming, including the spaces under the seats in the recesses of the upholstery, in the door pockets and storage compartments and on the rear shelf. Pet owners should remember to vacuum the fur thoroughly.
Cars with leather upholstery need particular care. You need to vacuum the dirt that has accumulated around the stitching of the seats, but be careful not to damage the texture of the leather. The vacuum cleaner attachment should also be carefully used near delicate materials such as the luggage compartment blind covers or the interior of storage compartments – these are easily scratched.
When vacuuming the interior of the car, be careful not to scratch the surrounding plastic parts.
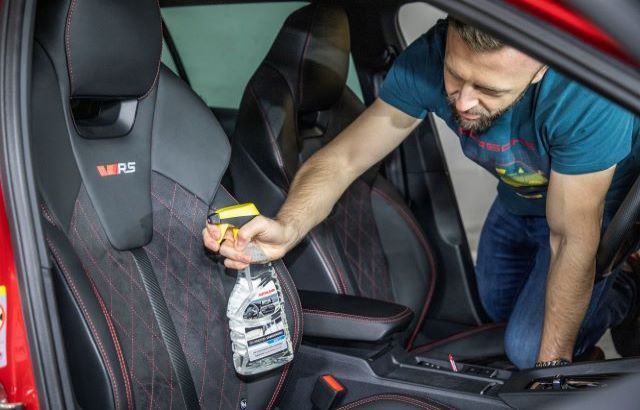
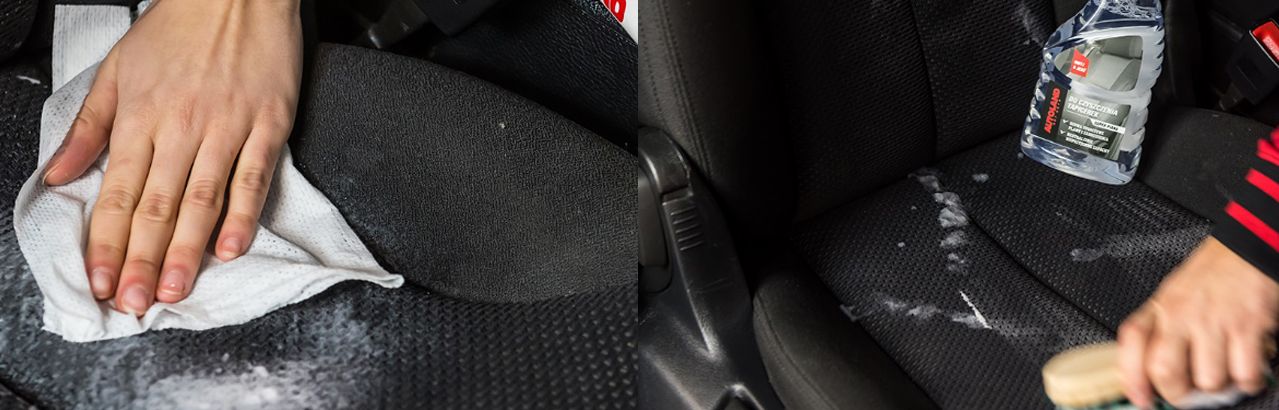
Step 2 – cleaning textile upholstery
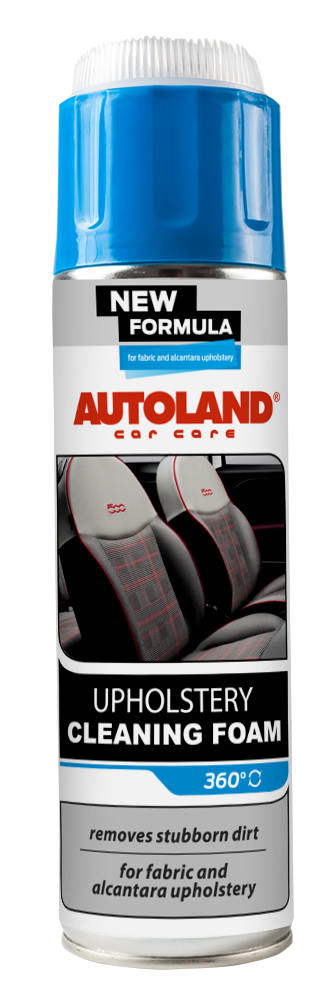
Textile upholstery can be effectively cleaned with a suitable agent that will remove not only stains, but also unpleasant odors. After spraying the surface, wait 2-3 minutes and clean it with a brush or a soft clean cotton cloth. The upholstery should be vacuumed again. In the same way, you can clean not only the seats or door panels, but also the headlining – but in this case, the agent should be applied to a cloth and not the headlining itself, which could lead to discoloration. The cloth must not be too wet.
[produkt_1]
It is best to clean the seat upholstery with a suitable cleaning agent and a brush.
Cleaning alcantara is more troublesome, as it requires as little water as possible and gentle wiping with longitudinal movements to avoid pilling the surface.
Note! Upholstery procedures should be carried out after vacuuming and before cleaning windows and plastics. This is because we risk staining the surrounding coverings with the remnants of the foam generated when cleaning the fabric. Fabrics should be cleaned gently. It is better to keep upholstery cloths handy in the car to let you remove fresh dirt, such as food leftovers quickly.
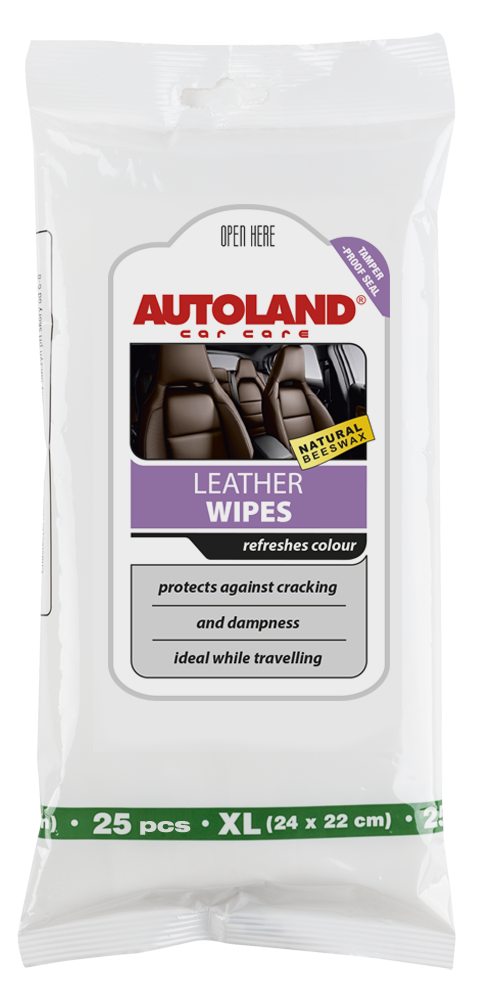
[produkt_2]
Upholstery wipes should always be at hand – for example, when you happen to soil a seat with food.
Step 3 – floor mats
Upholstery foam is the best for this, preferably with an integrated brush. The procedure here is similar to that for seats. Mats should be sprayed, then wait a while, scrub and vacuumed again. The foam can also be useful for cleaning the carpet under your feet.
[produkt_3]
Perfect for cleaning textile mats – upholstery foam with an integrated brush.
Step 4 – cleaning leather upholstery
Leather upholstery (including leather trim of elements such as a steering wheel, a gear knob, side panels or a handbrake handle) requires special treatment – not only cleaning, but also impregnation. It is worth doing it regularly, every 1-2 months. Then the leather in the car will repay you with better flexibility and longer durability. Lack of care negatively affects their condition and leads to premature wear.
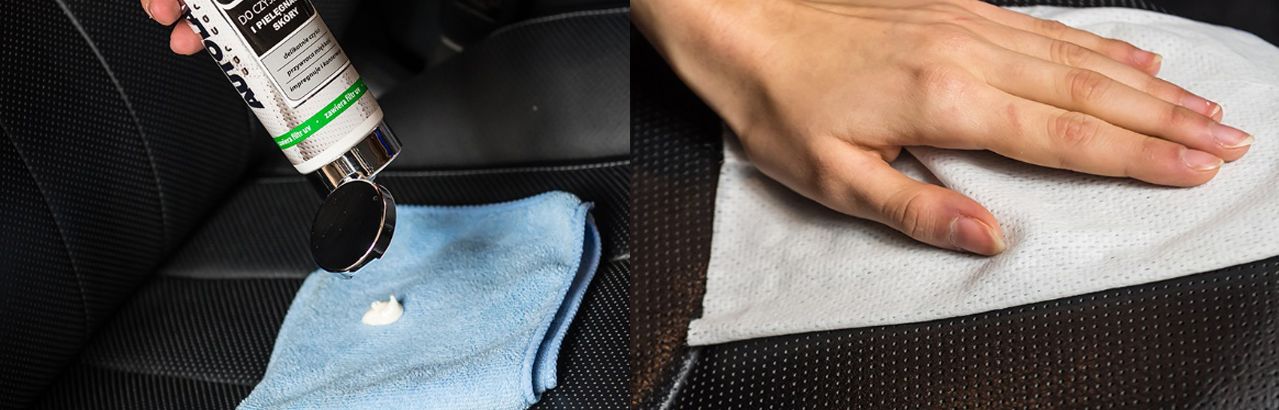
Our 2-in-1 cleaning product cleans and maintains the leather at the same time. It takes only about 10-15 minutes – to keep your upholstery in good condition.
[produkt_4]
Our advice for quick cleaning and maintenance of leather upholstery – leather wipes.
Caution: leather should not be cleaned with soap, household products or impregnated with body cream, which can cause upholstery damage. Over time, the use of such preparations degrades the leather – household chemicals have improper pH and aggressive detergents, and cream for human skin become rancid.
Step 5 – windows
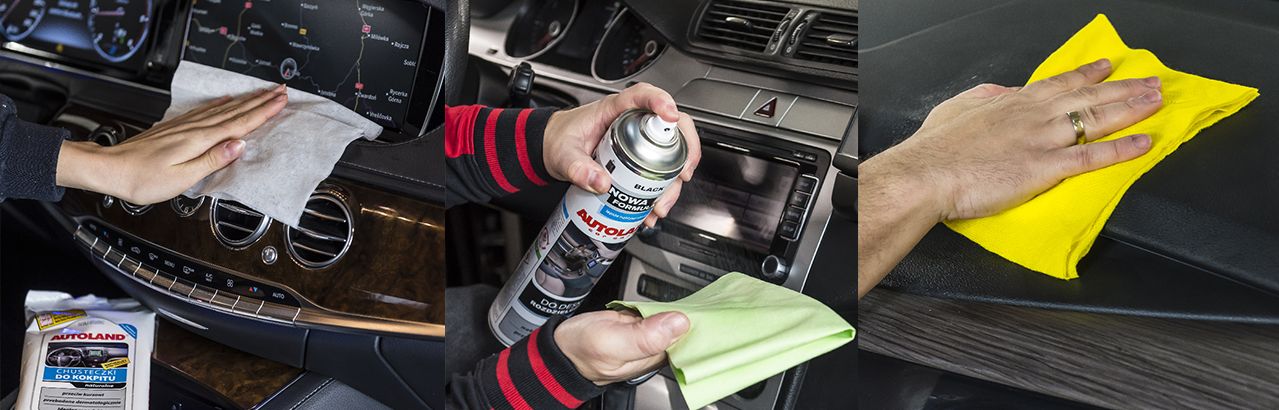
Here again the right order is important: after cleaning the upholstery, it’s time to wash the windows. Be sure to clean all windows inside the car (including the rear one), as well as the rear-view mirror (and, if any, make-up mirrors). The most meticulous can lower the windows a bit and clean their edges as well. Streaks may appear on windows that have not been washed for a long time, so often the washing operation must be repeated with a second clean cloth. A degreasing foam that removes insect residue, plant resins, silicon and waxes as well as oil and grease deposits will then be useful.
The degreasing foam helps to effectively remove old dirt.
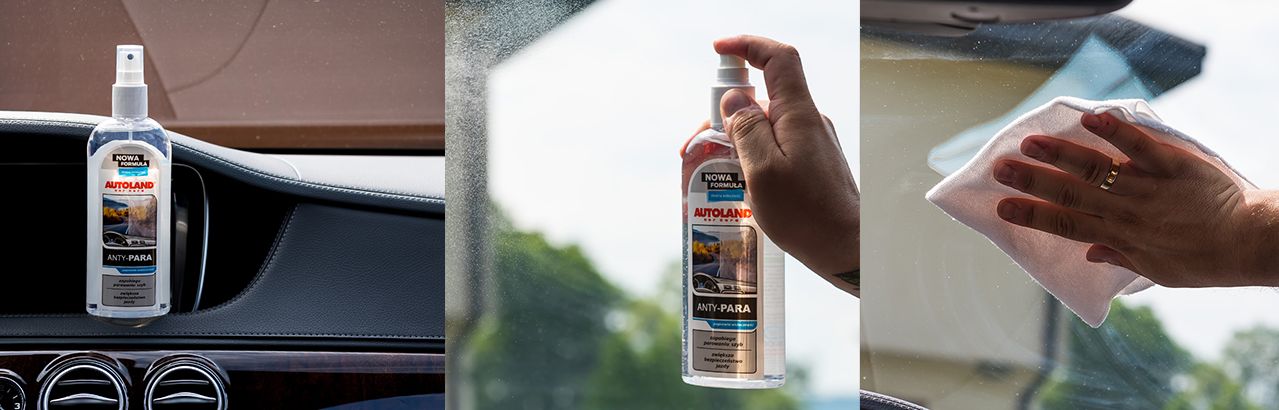
The degreasing foam has an additional advantage: it prepares the surface of the glass for further treatment such as Anti-fog and Invisible wiper.
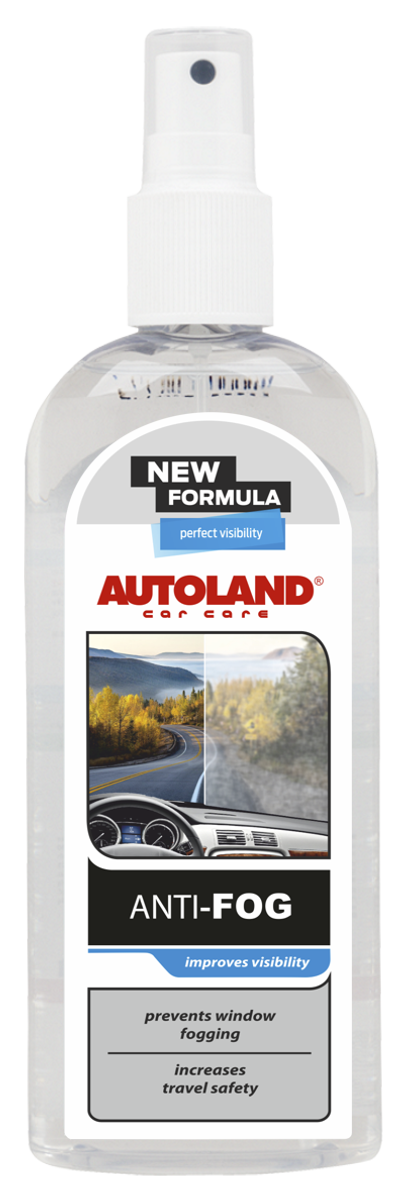
[produkt_5]
Anti-fog protects the windows against fogging, especially useful in winter.
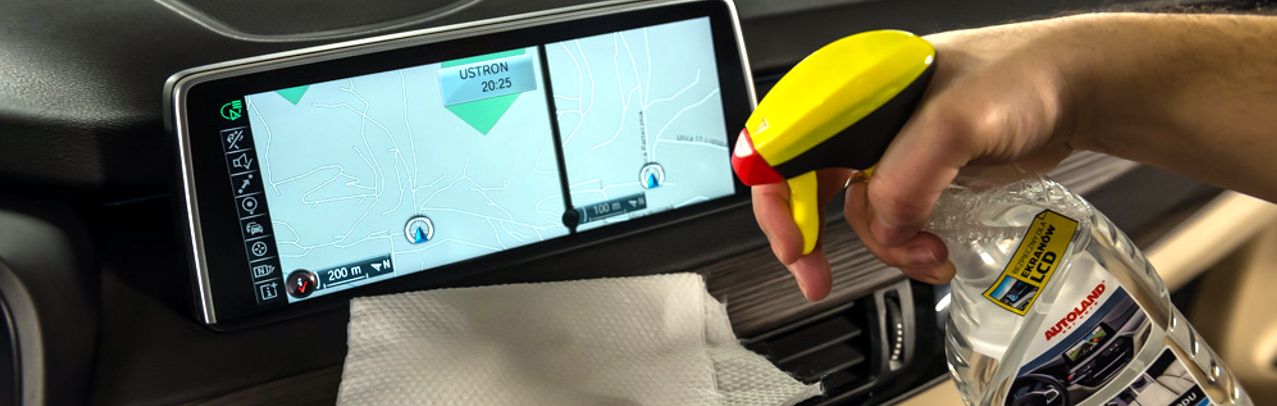
Particular care should be taken when cleaning delicate soft items, such as touch screens and panel covers which are easily scratchable. The minimum amount of detergent should be used on a clean, soft cotton cloth and wiped only gently.
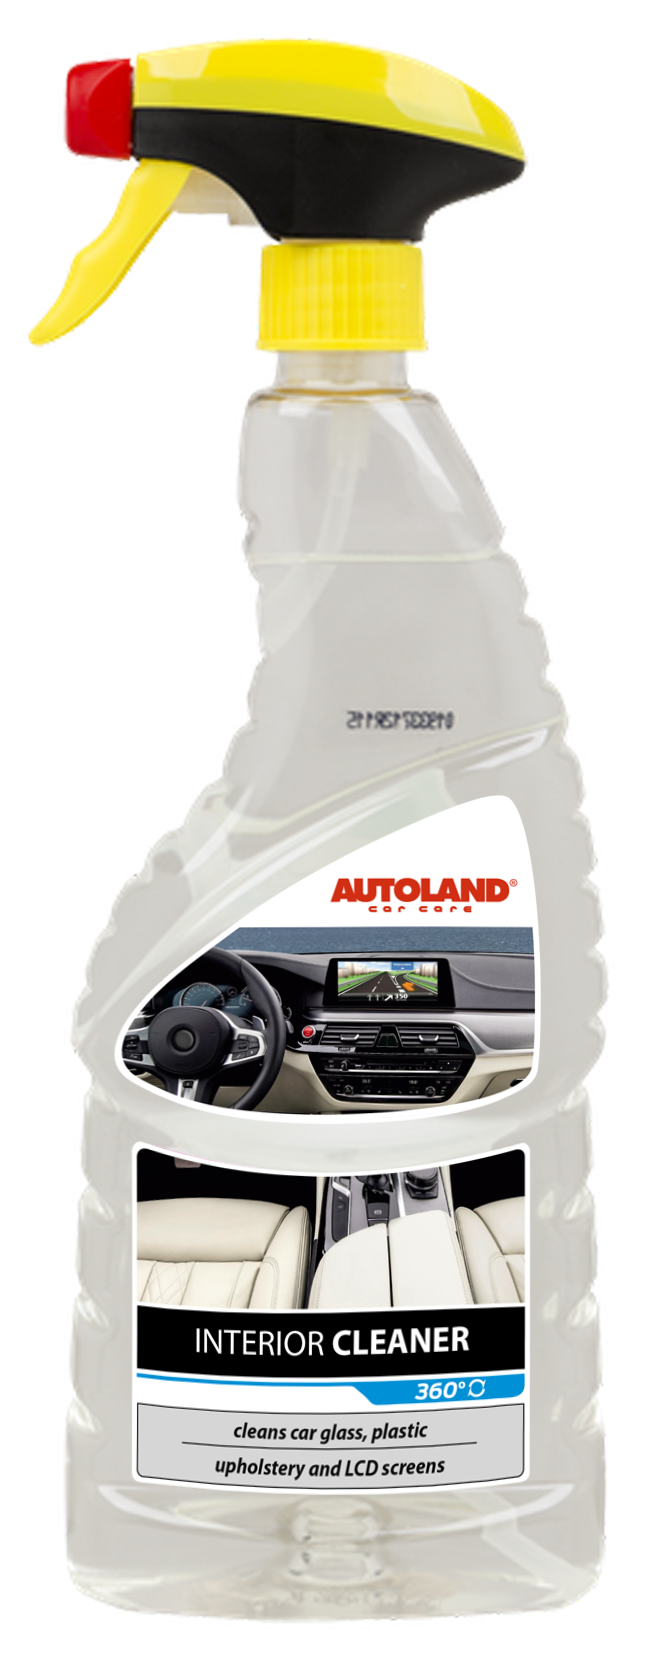
[produkt_6]
Our cleaning agent for interior components, including LCD screens – safe as it does not contain any solvent.
Caution, the windows can be polished to some extent – but specialist preparations knowledge are needed for doing this.
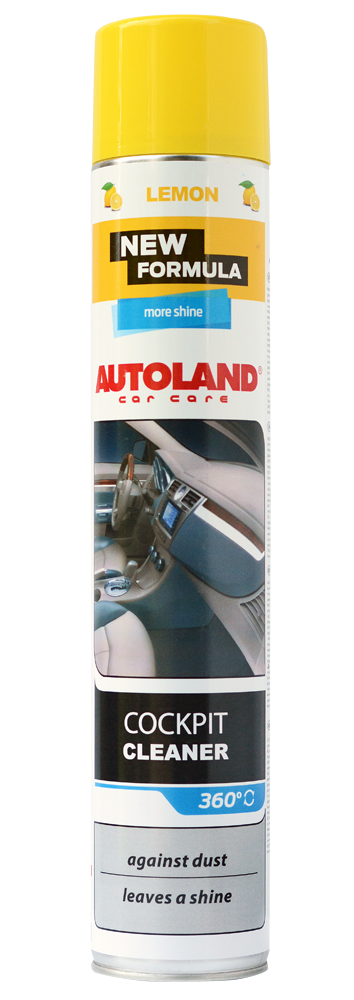
Step 6 – plastic
This is the most demanding activity when cleaning a car. All plastic elements require care – not only the dashboard, but also the cladding of the doors, pillars and the transmission tunnel. The best solution for this purpose will be a product that combines cleaning and impregnating features. Whether foam, milk or lotion, leaving a matt or glossy finish – the choice depends only on your personal preferences. What matters is the effectiveness and careful application of the preparation.
It is important to apply the preparation using a soft, clean, cotton cloth, not directly on the surface so as not to splash the surrounding elements.
In hard-to-reach places, you can use a brush instead of a cloth. Scratched plastic, wooden or aluminum parts can be polished with a light abrasive paste and then waxed.
[produkt_7]
To clean the grilles and vents use Compressed air, which can also be used to remove dust from hard-to-reach places. It works better than cotton buds.
Wipes for plastics are useful to remove everyday dirt – it is worth having them in the storage compartment.
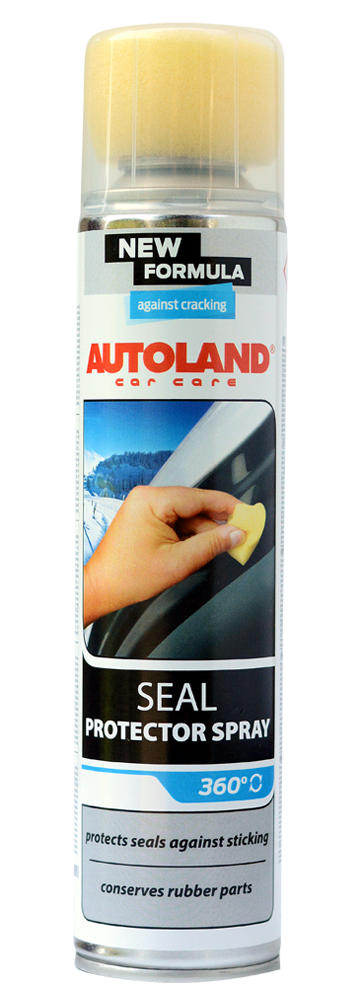
Step 7 – seals
It is always worth to preserve the door and cover seal. The most convenient preparation is to use a product with a special sponge dispenser, that allows you to apply without spilling on the surrounding upholstery and lining elements. Please remember that the maintenance of seals not only protects from freezing in winter, but also ensures their greater durability.
[produkt_8]
Dispenser bottle allows to avoid spilling liquid on surrounding surfaces.
Step 8 – air conditioning system
Cleaning the interior of the car is also a good opportunity to clean the air conditioning system. Its inspection should be carried out regularly (please follow car manufacturer recommendations) by a specialised workshop – but you can also refresh it yourself. It is very simple to do it. You don’t need to disassemble anything.

A way to quickly refresh the air conditioning system and get rid of unpleasant odors from your car interior.
You may also reduce some annoying mechanical noises using a small amount of silicone or a lubricant spray.
Lubricating and penetrating agent.
If specialized products are unavailable we have developed a solution.
Our gentle All-in-1 product that is suitable for cleaning every interior element of your car.
Your efforts must be rewarded, make an omelette and enjoy.
Może Cię również zainteresować:

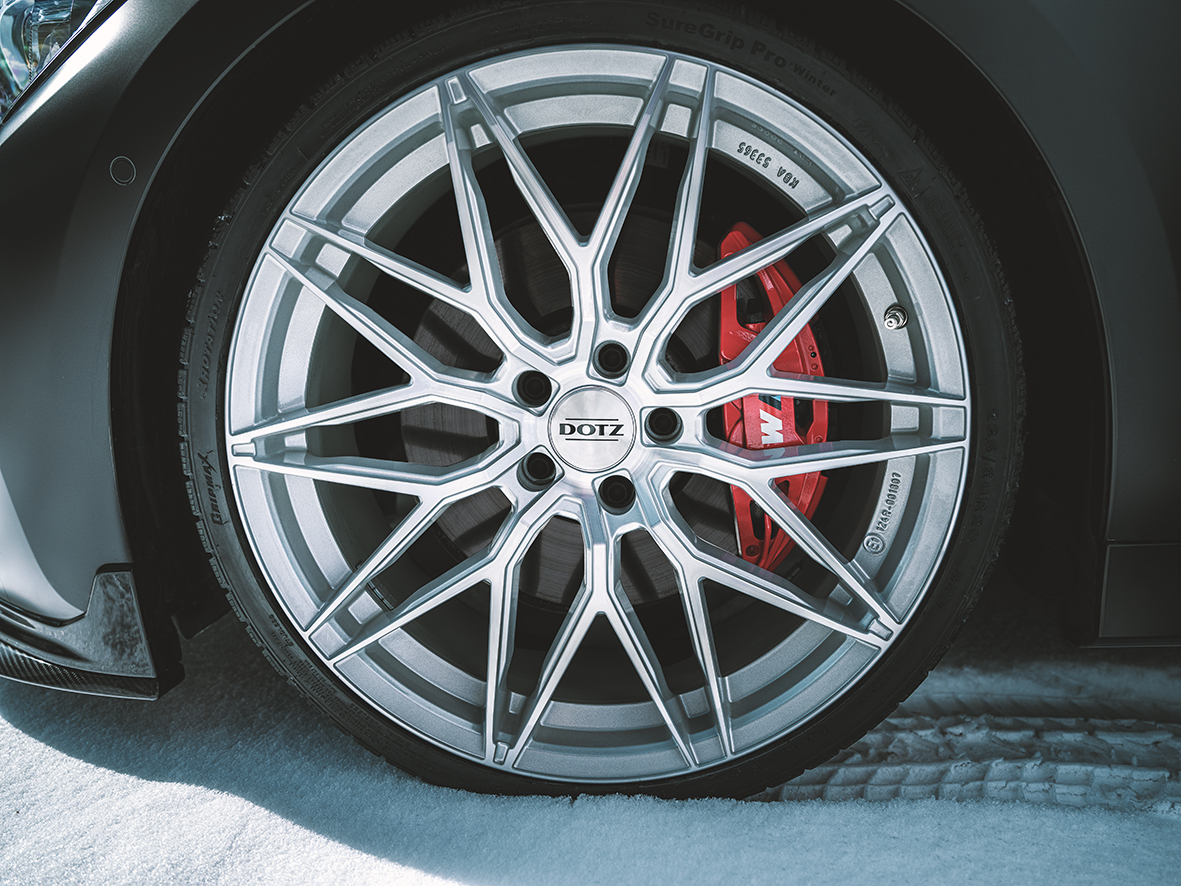
Aluminium wheels and metal trims: cleaning, care & protection
From an aesthetic point of view, these are some of the most essential parts of your car. And ones that get dirty the fastest and get damaged the easiest. Light alloy or aluminium wheels and decorative metal trims - how do you clean and maintain them? Should you protect them? How to restore scratched wheels and trims?
read more